So before getting into this I needed to clean up the garage and sharpen my planes.

Just a few days will create a lot of garbage

Tools in one place

Clamps in another

And a clean work bench
The planes that needed sharpening was the block plane (for some reason it had a lot of nicks in it maybe from planing epoxy) and the spokeshave (it was rubbish already when I bought it and I have not been bothered to fix it). So I thought I should show in a little more detail what I did with these two blades. The pictures will be a mix of the two but the process was the same for both.
(The blades have two bevels and I am not sure exactly what is the correct words in English so I will just call them primary bevel and honing bevel, if someone has the correct terminology please let me know and I will correct)
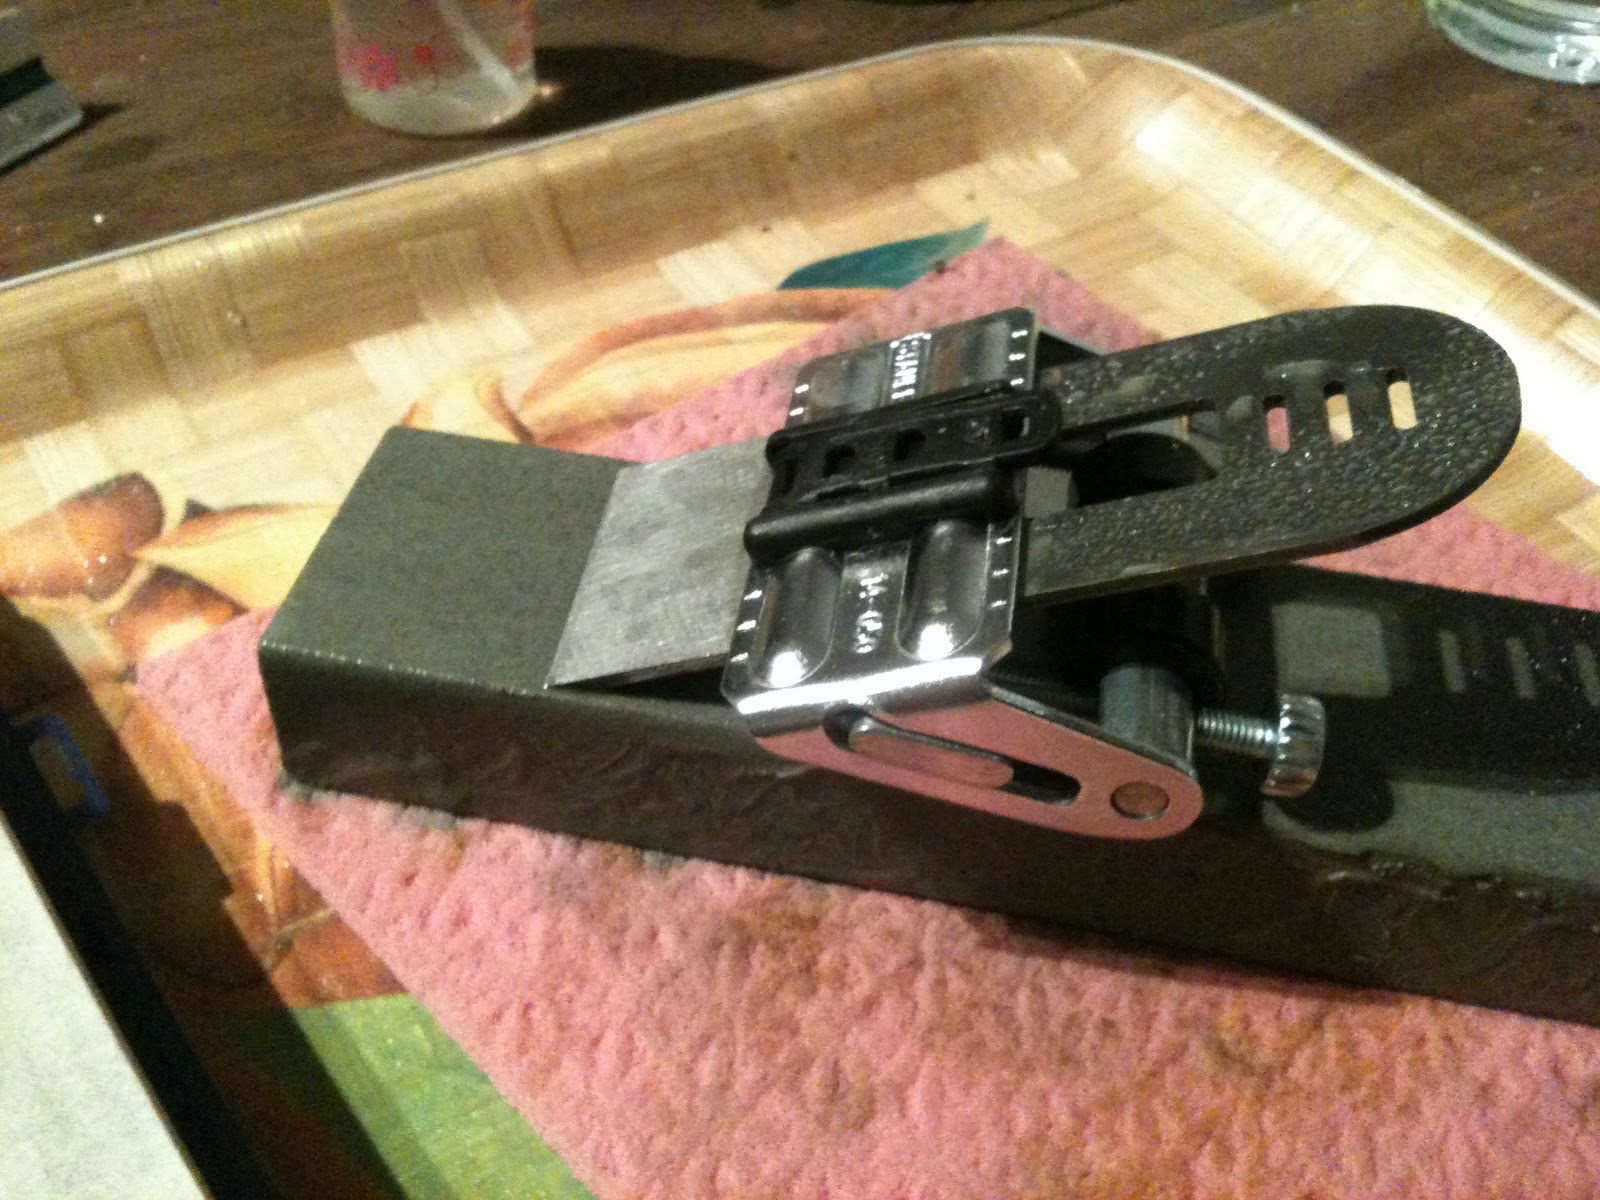
In addition to the stone I mentioned in my previous post, I fetched a coarse grained sand stone at my summer house when I was home for Christmas, this one I use to create the primary bevel. I also bought a honing guide during Christmas, it is a Stanley and is a new type to me, it is a little fiddly since you need to adjust two screws and it is quite difficult to get the blade straight but it gets the job done (pictures below).

Flattening the back on the sandstone
Cutting the primary bevel on the sandstone, 25 degrees

Same but on the 4000 grit stone

... and the 8000 grit

The primary bevel on the spokeshave, just getting started

Almost there

Primary bevel done, time to move onto the finer grits to polish it

This is how you set up the honing angle.

After the primary bevel is done I set the blade up for the honing bevel (30 degrees) and hone it on the 4000 grit and polish on the 8000

Here you can see the honing bevel

Then you need to remove the burr on the back side, I use the "ruler trick" it is not my invention you can read more about it here. Basically it makes a micro bevel on the back of the blade.
Naturally I had to test them before calling it a day, the block plane shaved wood excellently but the spokeshave still was a little jumpy. So there are a few more things I need to fix with it, that is what happens when you buy cheap stuff.

The cap iron needs to be moved further down, the paint is so thick and badly applied so the screw is not in the right position

Secondly the base plate is badly machined so the blade does not get the correct support, maybe I could "cast" a new even base with epoxy?????
No comments:
Post a Comment