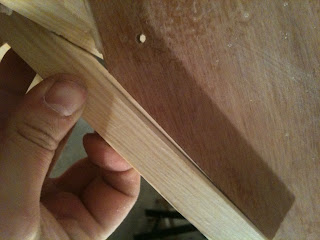
First I did the upper part of the stem.
Then I continued with the forward part of the port side, the pictures might show better what I actually did.
Look at where the stringers attach to frame #1, they are following the shape of the frames more.....
.... than on the starboard side where they still are in "steps"
I did not use my jig but rather a small stick to make sure I did not plane too far, this one needs a little more.
After being too exhausted to plane any more (have rough planed about one quarter of the boat) I decided to get onto trying to fix up the spokeshave. I knew already that the cap iron/chip breaker was bad, what I found out today though was that it was not only bad paint but rather bad casting, so I had to drill up the holes for the screw. Please note that I have absolutely no idea what I am doing I am just testing things that seem sort of reasonable.
Before rehab
Holes drilled and some filing of the back
I also filed the blade bed as it was not really flat
The cap seems to fit better so time to try it out on some wood
No good! It cuts better but only for a little while, the cap is too far down and there is a big gap between the cap and the blade which gets jammed with wood shavings
Epoxying a flat surface? In the background you can see the speakers for my phone I have been going through the Furled sails podcasts in the past week or so, if you have not listened to them I can recommend them.
I put some packing tape on the spokeshave blade and the sole of the smoothing plane. The blade was used to get an even surface on the bed and the smoothing plane to get the cap plane. Smear on a thin layer of thickened epoxy and clamp it in, hopefully tomorrow I will have level surfaces. I also filled the hole for the cap screw so I can re-drill it slightly higher up.
Time today: 3h


No comments:
Post a Comment